
A la hora de diagnosticar una avería en un compresor de aire, empieza por los problemas más habituales antes de plantearte su sustitución. Si el compresor no arranca, comprueba la alimentación eléctrica, el condensador, el presostato y la protección térmica contra sobrecargas. Los componentes externos dañados, como los condensadores o los interruptores, suelen poder sustituirse fácilmente.
Si el compresor funciona pero tarda en alcanzar la presión, comprueba si la entrada está obstruida o si la válvula de descarga está defectuosa. En caso de ciclos frecuentes, revisa todos los racores y válvulas con agua jabonosa para detectar fugas de aire y aprieta las conexiones o sustituye las piezas dañadas si es necesario.
Sin embargo, algunos problemas requieren la sustitución del componente en lugar de su reparación. Los ruidos extraños de chirrido pueden indicar daños internos graves, mientras que el óxido o la corrosión en el interior del depósito de aire pueden suponer riesgos para la seguridad. Por regla general, suele merecer la pena reparar los componentes externos, pero en el caso de averías graves que afecten al motor, al bloque compresor o al depósito, puede resultar más rentable sustituirlos.
Un mantenimiento regular, que incluya el vaciado del agua del depósito, el cambio de aceite cuando sea necesario y la limpieza, puede reducir considerablemente las averías habituales del compresor y prolongar la vida útil del equipo.
Por qué la mayoría de los problemas de reparación de los compresores de aire son más sencillos de lo que parecen
Más de la mitad de las llamadas por averías en compresores de aire se deben a un mantenimiento diferido: válvulas de drenaje obstruidas o sueltas, aceite que debería haberse cambiado hace meses y contactos eléctricos que llevan un año produciendo arcos eléctricos. Estas averías se desarrollan de forma gradual y dan señales de advertencia mucho antes de que el compresor deje de funcionar por completo.
Un compresor de aire es una máquina relativamente sencilla: un motor eléctrico hace girar el bloque compresor, este impulsa el aire hacia un depósito de acero y un conjunto de componentes de control enciende y apaga el motor cuando se alcanzan las presiones preestablecidas. La entrada de aire, el aceite (en los modelos lubricados), la válvula de purga, los contactos del presostato, la válvula de descarga y la correa (en las unidades con transmisión por correa) son elementos sujetos a desgaste diseñados para ser sustituidos periódicamente. Cuando uno de estos componentes se deteriora más allá de su límite de vida útil, el comportamiento del compresor cambia de formas que a menudo se malinterpretan como un fallo mecánico grave.
El coste de no realizar el mantenimiento periódico
El descuido en el mantenimiento provoca un efecto en cadena que convierte una reparación barata en una costosa. Una entrada obstruida priva de aire al bloque compresor, lo que reduce la eficiencia volumétrica. El bloque compresor se calienta más al tener que trabajar contra el vacío de admisión. El aumento de temperatura degrada el aceite más rápidamente. El aceite degradado pierde la resistencia de su película lubricante. La pared del cilindro y los anillos del pistón comienzan a rayarse. Las partículas metálicas circulan por los cojinetes. Seis meses después de la fecha en que debería haberse sustituido, el bloque compresor se gripa, y lo que comenzó como una reparación de diez dólares ahora requiere una reconstrucción del bloque compresor o la sustitución completa de la unidad. Los pasos para la reparación de los compresores de aire que se describen a continuación están diseñados para interceptar esta cascada ante el primer síntoma visible.
Desarrollo de un enfoque diagnóstico sistemático
El método de diagnóstico más eficaz consiste en empezar por la toma de corriente de la pared y avanzar hacia el depósito, comprobando un componente cada vez. De este modo se eliminan las variables por orden de complejidad creciente y se evita el error habitual de desmontar el bloque compresor antes de confirmar que la fuente de alimentación y el circuito de control funcionan correctamente. Ten a mano un multímetro digital, una botella pulverizadora llena de agua jabonosa y el manual del compresor. Anota las lecturas de tensión, el comportamiento del manómetro y cualquier ruido inusual en cada paso. Este registro resulta muy valioso si finalmente tienes que llamar a un técnico, ya que reduce el diagnóstico a un subsistema específico y evita que el técnico tenga que repetir las mismas pruebas a tu costa.

Paso 1: Diagnóstico de la fuente de alimentación y del sistema eléctrico
Las averías eléctricas son la causa más habitual de que un compresor “no arranque”, y también son las más baratas y rápidas de reparar. Un disyuntor disparado, un condensador averiado, un contacto del presostato quemado o una conexión suelta en un terminal pueden provocar que el compresor no arranque en absoluto, lo que se parece mucho a un motor gripado.
Los compresores consumen entre tres y cinco veces su intensidad de funcionamiento durante el primer segundo de arranque. Si el circuito comparte un disyuntor con otros equipos, o si un cable alargador de sección insuficiente provoca una caída de tensión, el disyuntor se dispara antes de que el motor pueda alcanzar la velocidad de funcionamiento. Elimine estas variables de inmediato: enchufe el compresor directamente a una toma de corriente exclusiva, reinicie el disyuntor e intente ponerlo en marcha. Si el motor emite un zumbido pero no gira, el condensador de arranque o el interruptor centrífugo del interior del motor son los principales sospechosos.
Comprobación del condensador, el presostato y el contactor
El condensador de arranque proporciona la corriente desfasada que genera el par de rotación durante los primeros segundos de funcionamiento. Tras cientos o miles de ciclos, el dieléctrico interno del condensador se degrada y su capacitancia disminuye. Inspecciona visualmente el condensador para comprobar si presenta abombamiento en la parte superior, grietas en la carcasa metálica o residuos de aceite alrededor de los terminales. Compruébelo con un multímetro en el modo de capacitancia: una lectura inferior a 70% del valor nominal en microfaradios impreso en la carcasa significa que el condensador ya no proporciona un par de arranque suficiente y debe sustituirse. Este es uno de los procedimientos de reparación más habituales en los compresores de aire: un trabajo de diez minutos con una pieza de quince dólares.
Los contactos del presostato deben inspeccionarse con la alimentación desconectada. Retira la tapa del presostato y examina las superficies de contacto bajo una buena iluminación. La presencia de picaduras, quemaduras o una capa de óxido negro indica daños por arco eléctrico que aumentan la resistencia de contacto. Compruebe la continuidad con un multímetro: con el depósito despresurizado, los contactos deben estar cerrados; cuando el depósito supere la presión de activación, deben estar abiertos. Cualquier desviación respecto a este comportamiento, o cualquier daño visible en los contactos, justifica la sustitución por un nuevo presostato calibrado según las especificaciones originales de activación y desactivación.
Cuando el propio motor ha fallado
Si el condensador, el presostato y el cableado dan resultados correctos en las pruebas y se confirman 240 voltios en los terminales del motor sin que este gire, es probable que el motor haya sufrido daños internos en el bobinado. Un olor a bobinado quemado, marcas visibles de quemaduras en la carcasa del motor o una prueba con megóhmetro que muestre una resistencia de aislamiento inferior a un megaohmio confirman el fallo del motor. En este punto, compare el coste de un motor de recambio con el de un compresor nuevo. En las unidades de consumo doméstico, un motor de recambio suele costar entre el 50 y el 70 % del precio de un compresor nuevo completo, por lo que la sustitución completa resulta la opción más acertada.
Paso 2: Restricciones en la admisión y el flujo de aire
Una entrada obstruida reduce el caudal del bloque compresor, aumenta el tiempo de llenado y eleva la temperatura de funcionamiento del bloque compresor, síntomas que a menudo se diagnostican erróneamente como anillos de pistón desgastados o válvulas con fugas. Su sustitución es la tarea de reparación más rápida en los compresores de aire y siempre debe realizarse antes de desmontar el bloque compresor.
El filtro de admisión se enrosca en el cabezal del compresor y retiene el polvo en suspensión antes de que entre en el cilindro. En talleres polvorientos, obras de construcción y entornos industriales, se obstruye en cuestión de semanas. El compresor compensa esta obstrucción trabajando con mayor intensidad para superar la restricción de la admisión, lo que genera un calor adicional que acelera la degradación del aceite y acorta la vida útil de los anillos.
Cómo detectar una obstrucción
Retira el elemento y colócalo frente a una luz intensa. Si la luz no atraviesa con claridad el medio filtrante, o si el elemento presenta un aspecto oscuro con partículas incrustadas en lugar de su color original blanquecino o amarillento, es necesario sustituirlo. Como prueba de diagnóstico rápida, ponga en marcha brevemente el compresor sin el filtro y observe el tiempo de llenado. Si el tiempo de llenado mejora notablemente, el filtro era la causa de la obstrucción. Nunca utilice el compresor durante períodos prolongados sin un filtro, ya que el aire de admisión sin filtrar introduce partículas abrasivas de sílice y metal directamente en el cilindro, lo que provoca un desgaste inmediato.
Mejora de los sistemas de filtración para entornos hostiles
Los elementos de papel estándar funcionan correctamente en entornos interiores limpios, pero se obstruyen rápidamente en lugares donde hay polvo en suspensión de forma persistente. En estas condiciones, conviene cambiar a un elemento más resistente de la compresor de aire Esta categoría alarga considerablemente los intervalos de mantenimiento. Los materiales sintéticos retienen partículas más finas sin restringir el flujo de aire como lo hace el papel de celulosa, y los elementos de espuma impregnados en aceite pueden lavarse, volver a impregnarse en aceite y reutilizarse varias veces, lo que reduce tanto el tiempo de inactividad como los costes de los consumibles en entornos con mucho polvo.
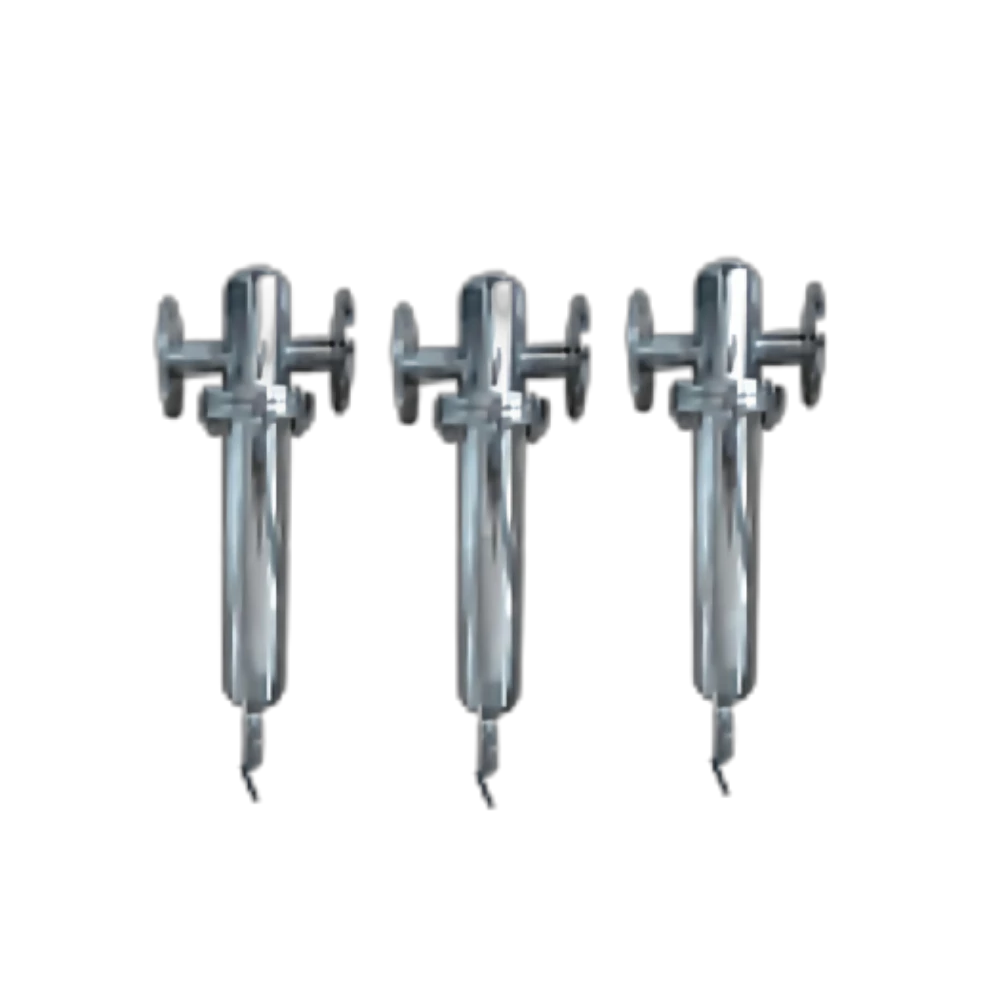
Paso 3: Drenaje del depósito y control de la humedad
El agua que se acumula en el interior del depósito provoca óxido interno, reduce la capacidad útil de aire y, con el tiempo, provoca averías en el depósito. Vaciar el depósito después de cada uso es la medida preventiva más eficaz para el mantenimiento de los compresores de aire, y no cuesta nada.
El aire atmosférico siempre contiene humedad. Cuando ese aire se comprime a una presión de entre 100 y 150 PSI, el vapor de agua se condensa en líquido que se acumula en el fondo del depósito. Un compresor de 60 galones que funcione ocho horas en condiciones de humedad puede acumular medio galón de agua al día. Esta capa de agua reduce el volumen efectivo del depósito, favorece la aparición de óxido en el interior, lo que adelgaza las paredes de acero, e introduce partículas de óxido abrasivas en las herramientas neumáticas y las mangueras situadas aguas abajo.
Procedimiento adecuado de drenaje
Abre la válvula de purga del depósito mientras el compresor mantiene una presión de entre 30 y 50 PSI —suficiente para expulsar el agua con fuerza sin que se produzca un riesgo de explosión incontrolada—. Observa el agua que sale. Si el agua está clara o ligeramente turbia, indica que el depósito está bien mantenido. El agua de color marrón oxidado que contenga sedimentos visibles indica una corrosión interna activa; es posible que la integridad estructural del depósito ya se haya visto comprometida. Si la válvula de purga está atascada por el óxido o las roscas están obstruidas por incrustaciones, sustitúyela inmediatamente por una válvula manual nueva o por un sistema de purga automático que se active mediante un temporizador. Los sistemas de purga automáticos eliminan el factor humano y cuestan menos de cincuenta dólares.
Cuándo instalar un secador de aire comprimido
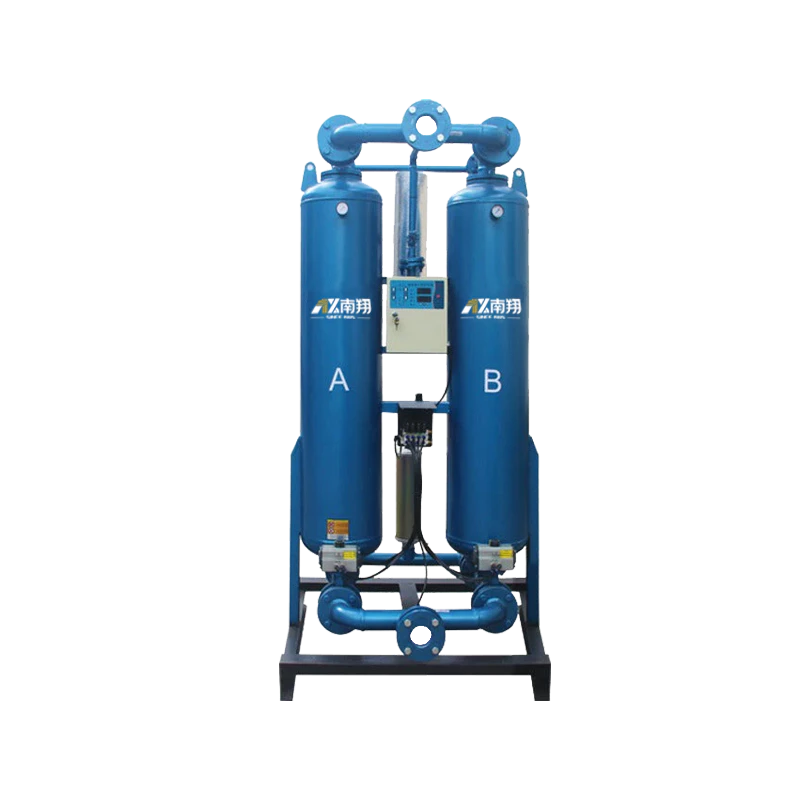
Si el drenaje del depósito por sí solo no basta para eliminar la humedad de las tuberías de aire, o si tus herramientas y procesos no admiten ningún tipo de vapor de agua, un filtro en el punto de uso resulta insuficiente. Instalar un secador de aire refrigerado situado aguas abajo del depósito enfría todo el flujo de aire comprimido hasta un punto de rocío controlado —normalmente entre 35 y 39 grados Fahrenheit— y separa mecánicamente el condensado resultante antes de que el aire entre en las tuberías de distribución. Esto protege no solo las herramientas neumáticas, sino también el depósito receptor, ya que una menor entrada de vapor de agua en el depósito se traduce en una menor acumulación de líquido en el fondo. Para los talleres que ya tienen que lidiar con la presencia de agua en sus conductos de aire a pesar del drenaje diario, un secador es la siguiente mejora lógica del sistema.
Paso 4: Detección de fugas e inspección de las tuberías de aire
Las fugas de aire comprimido suponen un desperdicio de energía, obligan al compresor a funcionar con mayor frecuencia y aceleran el desgaste de todos los componentes del sistema. Una inspección exhaustiva de fugas con agua jabonosa es un método de diagnóstico de averías en compresores de aire que no supone ningún coste y que, con frecuencia, resuelve las quejas relacionadas con un funcionamiento excesivo y una recuperación lenta de la presión.
El Departamento de Energía de EE. UU. señala que un sistema industrial de aire comprimido pierde, de media, entre un 20 y un 30% de su rendimiento debido a fugas. En un taller pequeño, un solo acoplador de conexión rápida con fugas puede duplicar la frecuencia de ciclo del motor, lo que, en la práctica, reduce a la mitad la vida útil del compresor al duplicar los ciclos acumulados en el motor, el bloque compresor, el presostato y la válvula de descarga.
Auditoría sistemática de fugas con agua jabonosa
Presuriza el depósito hasta su presión máxima y desconecta todas las mangueras de aire y herramientas. Empezando por la línea de descarga del compresor, revisa todas las conexiones: la válvula de retención del depósito donde la línea de descarga entra en el depósito, el puerto del presostato, el asiento de la válvula de seguridad, el cuerpo del regulador y el mando de ajuste, cada acoplador de conexión rápida (tanto en estado conectado como desconectado) y las roscas de la válvula de purga. Aplica con un cepillo o pulverizando una mezcla de agua y jabón sobre cada racor y observa si aparecen burbujas. Incluso una sola burbuja que se forme lentamente indica una fuga que está haciendo perder presión y provocando ciclos innecesarios del motor.
Puntos habituales de fugas y soluciones sencillas
La válvula de retención situada en la entrada del depósito suele ser la causa habitual. Si aparecen burbujas en este punto sin herramientas conectadas y con todas las mangueras desconectadas, significa que el aire comprimido se está escapando hacia atrás a través del cabezal del compresor, un fallo que provoca que el compresor se ponga en marcha cada pocos minutos y que, con frecuencia, se diagnostica erróneamente como un desgaste de los anillos del pistón. Sustituir la válvula de retención —una pieza de treinta dólares y un trabajo de quince minutos— resuelve este problema por completo. Del mismo modo, una junta tórica envejecida dentro de un acoplador de conexión rápida se endurece y deja de sellar, aunque sustituir el acoplador cuesta menos de diez dólares. La propia válvula de purga suele presentar fugas en el asiento tras años de exposición a las condiciones húmedas y oxidadas del depósito. Antes de concluir que los ciclos persistentes indican un fallo en el bloque compresor, descarta todas las fuentes de fuga en la línea de aire. Las pequeñas fugas se acumulan: seis conexiones que pierden cada una un CFM desperdician en conjunto tanto aire como una clavadora de estructura funcionando de forma continua. Al sustituir los racores y acopladores desgastados, es recomendable adquirir componentes de calidad de un piezas de compresores de aire El catálogo garantiza que las dimensiones de las roscas y los valores nominales de presión sean los adecuados para un funcionamiento seguro y sin fugas.
Paso 5: Estado del aceite y evaluación del desgaste del bloque compresor
En el caso de los compresores lubricados con aceite, el nivel y el aspecto del aceite ofrecen una indicación directa del estado del bloque compresor. Un nivel bajo de aceite, un aceite oscuro y arenoso o un aceite emulsionado de aspecto lechoso son indicios de distintas condiciones internas y determinan diferentes procedimientos de reparación del compresor de aire.
El aceite de un compresor alternativo sirve tanto de lubricante para el cigüeñal, la biela, el pasador de biela y la pared del cilindro, como de refrigerante que transporta el calor desde estas superficies de fricción hasta la carcasa del grupo compresor y las aletas de refrigeración. Compruebe el nivel de aceite a través de la mirilla con el compresor apagado y situado sobre una superficie nivelada. Un nivel por debajo de la marca mínima indica que el grupo compresor ha estado funcionando con una lubricación y una refrigeración por salpicadura insuficientes.
Análisis del aceite para diagnosticar el estado interno del grupo compresor
Vierte una muestra en un recipiente limpio y examínala bajo una luz intensa. El aceite de color marrón oscuro o negro con olor a quemado ha superado sus límites térmicos: el bloque compresor ha estado funcionando a una temperatura demasiado elevada, posiblemente debido a una ventilación obstruida o inadecuada alrededor del bloque compresor, o a un ciclo de trabajo excesivo. Un brillo metálico suspendido en el aceite indica la presencia de partículas de material de los cojinetes o de los anillos del pistón, lo que confirma que se está produciendo un contacto metal contra metal en el interior del bloque compresor. Un aceite lechoso o de color café indica una emulsión con agua, en la que la condensación del interior del cárter se ha mezclado con el aceite. Esto ocurre cuando el compresor realiza ciclos cortos en un entorno húmedo o cuando el respiradero del cárter está obstruido.
Cada situación requiere una respuesta diferente. El aceite quemado exige un cambio inmediato y una investigación sobre las causas del sobrecalentamiento del bloque de compresión. El aceite contaminado con partículas metálicas requiere abrir la tapa del bloque de compresión para inspeccionar el diámetro interior del cilindro y los segmentos del pistón. El aceite contaminado con agua requiere un cambio, un lavado del cárter y una comprobación de la humedad en todo el sistema. Ignorar cualquiera de estas señales de advertencia relacionadas con el aceite garantiza que el bloque compresor se gripará en cuestión de semanas o meses.
Reacondicionamiento del bloque compresor frente a sustitución completa
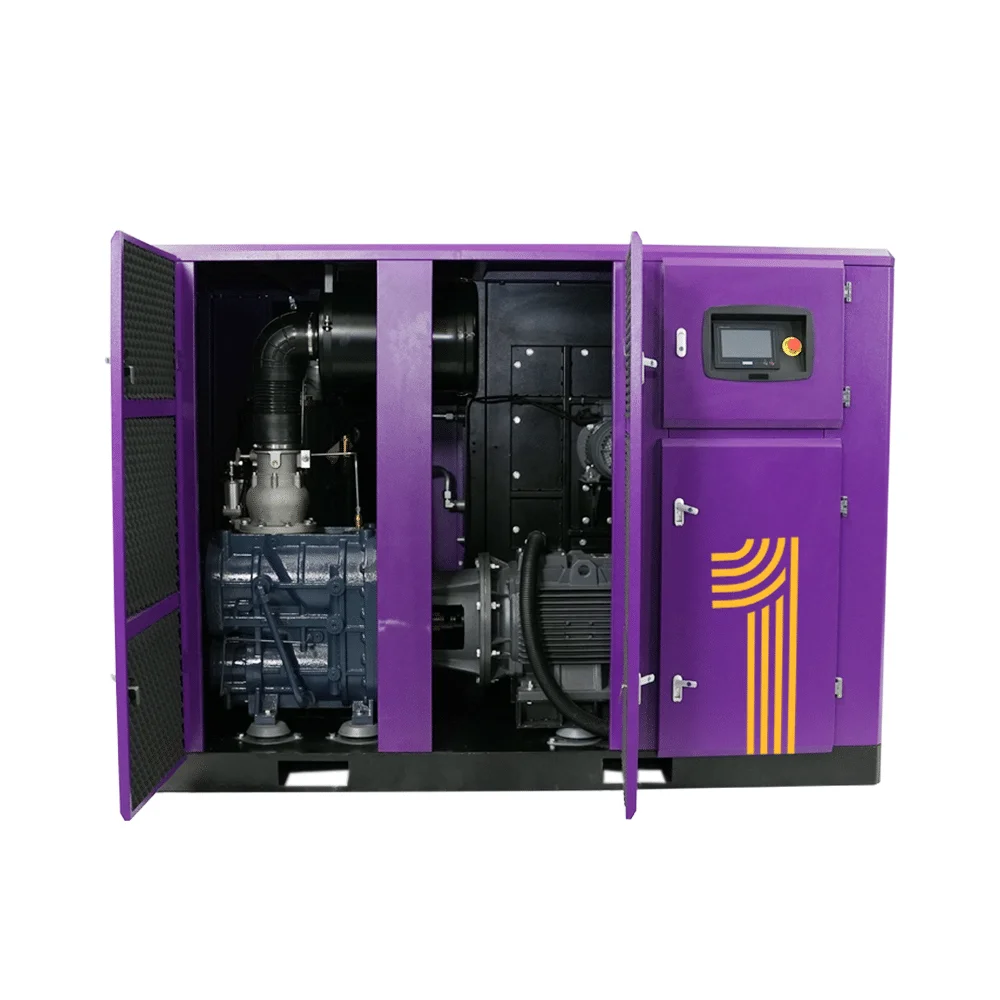
Retira el cabezal del bloque compresor y examina el interior del cilindro. Las ligeras marcas que no se notan al pasar la uña suelen solucionarse con anillos de pistón nuevos y un bruñido del cilindro. Las ranuras profundas, una falda del pistón visiblemente desgastada o el juego lateral en el cigüeñal indican un desgaste que supera el punto en el que resulta rentable una reconstrucción. En esta fase, compara el coste de sustituir el conjunto del bloque compresor con el de adquirir un compresor nuevo. Si el depósito y el motor están en buen estado, cambiar el compresor de aire de pistón La reparación del compresor es una opción rentable. Si el depósito presenta óxido y el motor lleva miles de horas de funcionamiento, la sustitución completa de la unidad ofrece mayor fiabilidad que el reacondicionamiento de una máquina antigua componente por componente.
Coste de reparación frente a sustitución de compresores de aire: el marco de decisión
La decisión de reparar o sustituir un compresor se basa en un umbral numérico claro: cuando el coste de las piezas de recambio necesarias, sumado a la mano de obra necesaria para instalarlas, supera el 60% del precio de una unidad nueva comparable, la sustitución es la opción más rentable. Por debajo de ese umbral, suele merecer la pena repararlo, a menos que la integridad estructural del depósito esté en entredicho.
Esta regla 60% tiene en cuenta lo que aporta un compresor nuevo, más allá de un bloque compresor en buen estado: una garantía que cubre los componentes principales durante un periodo de entre uno y cinco años, un depósito sin corrosión interna, normas de eficiencia actualizadas y, en muchos casos, niveles de ruido más bajos, mejores funciones de control y un diseño más compacto. Seguir reparando una máquina que ya ha consumido 60% del presupuesto de sustitución en un solo ciclo de reparación también pasa por alto la probabilidad de que la próxima avería —el motor, la válvula de retención, el presostato— se produzca en el plazo de un año.
El umbral de sustitución 60% en la práctica
En la siguiente tabla se aplica la regla 60% a situaciones habituales de reparación en un compresor típico de una sola etapa, de 5 HP y 60 galones, cuyo precio de unidad nuevo es de aproximadamente $1.800.
| Escenario de reparación | Coste estimado de las piezas | Manodera estimada | Coste total de la reparación | Umbral 60% ($1.080) | Veredicto |
|---|---|---|---|---|---|
| Sustituir el sistema de admisión, cambiar el aceite y apretar las uniones | $30 – $60 | 0 (Hazlo tú mismo) | $30 – $60 | Por debajo del umbral | Repare |
| Sustituir el presostato, la válvula de descarga y la válvula de retención | $80 – $150 | 0–1 hora | $80 – $250 | Por debajo del umbral | Repare |
| Sustituir el condensador de arranque y el contactor | $25 – $50 | 0 (Hazlo tú mismo) | $25 – $50 | Por debajo del umbral | Repare |
| Sustituir el motor (unidad de uso doméstico) | $350 – $500 | 1-2 horas | $450 – $700 | Por debajo del umbral | Repare |
| Sustituir el conjunto del compresor (de hierro fundido) | $500 – $800 | 2-3 horas | $700 – $1.100 | Cerca del umbral o por encima de él | Límite: evaluar el estado del depósito |
| Sustituir el motor y el bloque compresor al mismo tiempo | $850 – $1.300 | 3-5 horas | $1.100 – $1.800 | Por encima del umbral | Sustituir la unidad completa |
Cuando una mejora se amortiza por sí sola
En el caso de las operaciones que dependen del aire comprimido —talleres de reparación de automóviles, ebanistas, pequeñas líneas de fabricación—, el coste del tiempo de inactividad suele superar el ahorro que supone la reparación. Un taller que pierda $200 por hora en productividad laboral durante una avería del compresor recupera la diferencia de coste entre una reparación y una sustitución en un solo día de tiempo de inactividad evitado. En estos entornos, las mejoras en fiabilidad y eficiencia que supone actualizar a un compresor de aire de dos etapas A menudo justifican la inversión, independientemente del análisis entre reparar o sustituir. La compresión en dos etapas divide el trabajo entre un cilindro de baja presión y otro de alta presión, haciendo funcionar cada etapa a una relación de compresión y una temperatura más bajas. El resultado es un aumento de la eficiencia de entre 10 y 151 TP3T y una vida útil del grupo compresor considerablemente más larga debido a la reducción de la tensión térmica. Para aplicaciones de servicio continuo, un compresor de pistón industrial Gracias a su bloque compresor de hierro fundido, sus aletas de refrigeración de gran tamaño y su motor de funcionamiento continuo, se eliminan los problemas de sobrecalentamiento que afectan a los bloques compresores de aluminio de uso doméstico cuando se utilizan con fines comerciales.
Mantenimiento preventivo para minimizar los futuros costes de reparación de los compresores de aire
La forma más eficaz de controlar los costes de reparación de los compresores de aire es prevenir las averías antes de que se produzcan. Una rutina de mantenimiento de quince minutos a la semana elimina la mayoría de las averías que dan lugar a llamadas de emergencia al servicio técnico.
El mantenimiento preventivo de un compresor de aire consta de seis tareas, cada una de las cuales se realiza según un calendario específico. Diariamente: vaciar el depósito del agua acumulada. Semanalmente: inspeccionar la entrada para detectar obstrucciones visibles, comprobar el nivel y el color del aceite a través de la mirilla y escuchar si hay fugas de aire con el depósito presurizado y todas las herramientas desconectadas. Mensualmente: limpiar o sustituir la entrada de aire, comprobar la tensión y el estado de la correa en las unidades con transmisión por correa, y probar la válvula de seguridad tirando del anillo mientras el depósito está presurizado para confirmar que se abre y se vuelve a cerrar correctamente. Cada trimestre: cambie el aceite en los modelos lubricados con aceite (con mayor frecuencia en entornos polvorientos), compruebe que todas las conexiones eléctricas estén bien apretadas y no presenten signos de sobrecalentamiento, y realice una inspección completa de fugas con agua jabonosa. Anualmente: sustituya el filtro de admisión independientemente de su aspecto, inspeccione el interior del depósito con un boroscopio si el agua de drenaje presenta cualquier decoloración por óxido y compruebe la calibración de activación y desactivación del presostato según las especificaciones del fabricante.
Un compresor al que se le aplica este programa de mantenimiento suele durar entre quince y veinte años, con solo sustituciones menores de componentes. En cambio, el mismo compresor con un mantenimiento diferido suele sufrir averías en el bloque compresor o en el motor en un plazo de entre cinco y siete años. La diferencia en el coste total de propiedad entre estos dos escenarios asciende a miles de dólares, lo cual se debe íntegramente a quince minutos de atención a la semana. Los principios que rigen la reparación profesional de compresores de aire —diagnóstico sistemático, sustitución oportuna de las piezas de desgaste y análisis honesto de la relación coste-beneficio— son los mismos que evitan por completo que un compresor bien mantenido tenga que acudir al taller.