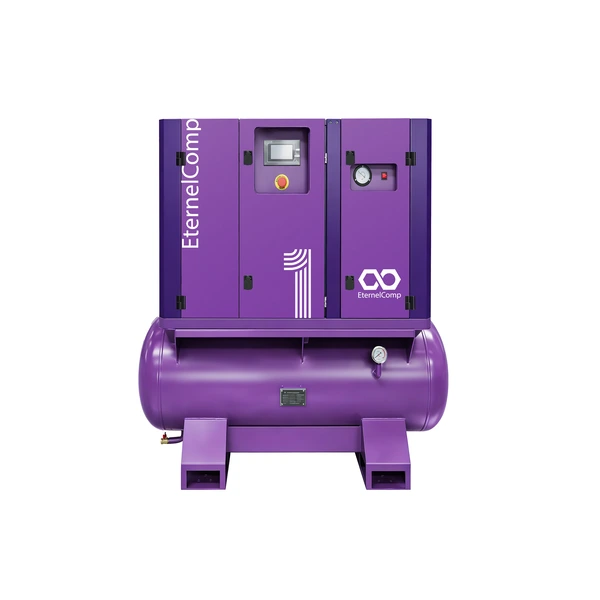
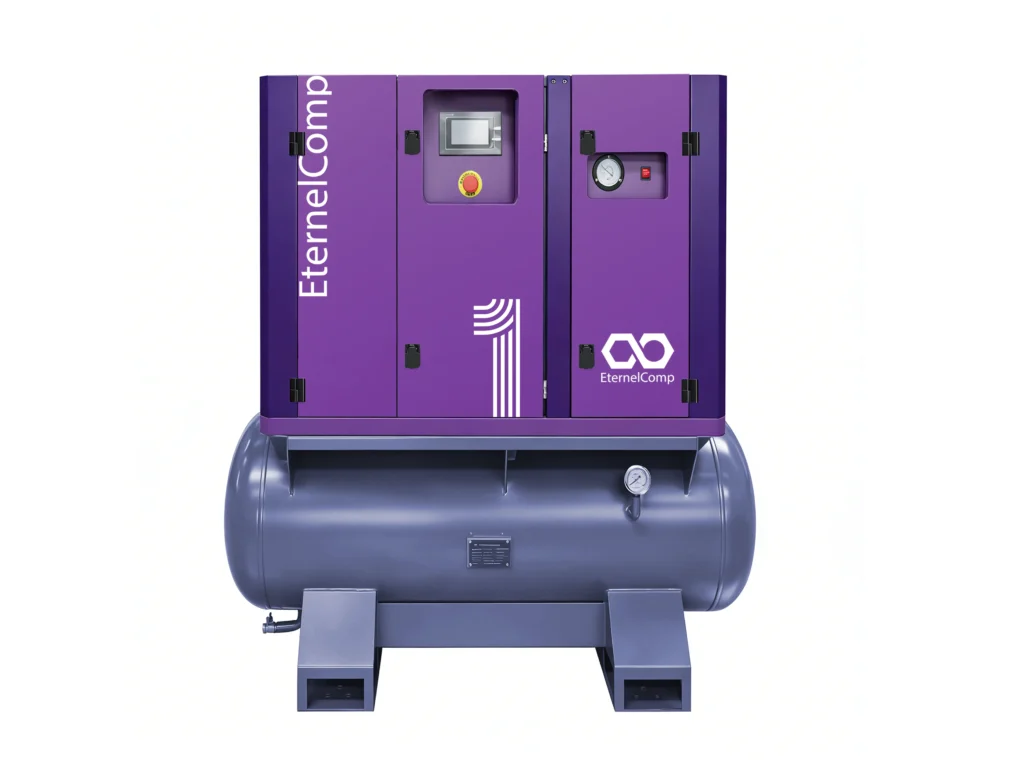
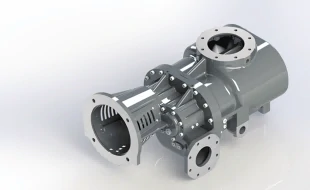
If you’re experiencing a bump in your air compressor, it may be time to rebuild the pump. The pump is responsible for compressing air in the cylinder and filling the tank, but worn parts like the valve plate and seals can prevent it from doing so effectively. To fix this issue, you can use a manufacturer-approved rebuild kit that includes a cylinder sleeve, piston, and seals. This guide provides step-by-step instructions and a helpful video to assist you in rebuilding the pump on air compressor models With a little DIY know-how, you can restore your air compressor’s ability to efficiently compress air.
Instruction
Before performing any maintenance on an air compressor pump, it is important to take safety precautions. First, turn off the electricity and unplug the power cord from the wall outlet. Then, pull the ring on the safety valve to release all air pressure from the tank. It is recommended to wear work gloves to protect your hands during this process. Once the tank is drained, you can safely proceed with any necessary maintenance or repairs.
To safely disassemble an air compressor pump, start by turning off the electricity and draining the air tank completely. Then, unplug the power cord and remove the shroud by unscrewing the mounting screws and prying apart the locking tabs. Next, disassemble the pump head by removing the air outlet tube and mounting bolts, and lifting off the head and valve plate. Finally, remove the Torx screw from the top of the piston, and lift off the piston cap and compression ring. It’s important to wear work gloves throughout the process to protect your hands.