
Compressed air is one of the most widely used utilities in manufacturing, yet it is also one of the most easily overlooked. An air compressor that runs quietly behind a wall tends to be forgotten until pressure drops, a temperature alarm appears, or a production line stops. In most facilities compressed air represents a substantial share of electricity consumption, and the machine that produces it is worked hard for thousands of hours a year in dusty, hot or humid conditions that accelerate wear.
Maintaining an air compressor means running a layered routine rather than performing a single task: daily visual and parameter checks, weekly and monthly inspections, and scheduled service at defined operating-hour intervals to replace lubricant, filters, separators and wear parts. The essential work is keeping the lubricant clean, the intake air unrestricted, the system leak-free, the condensate drained and the cooling surfaces clear, so the unit stays within its designed temperature and pressure range.
The sections below explain why this routine pays off, how to build a realistic schedule around your operating hours, and exactly what to do during each service visit.
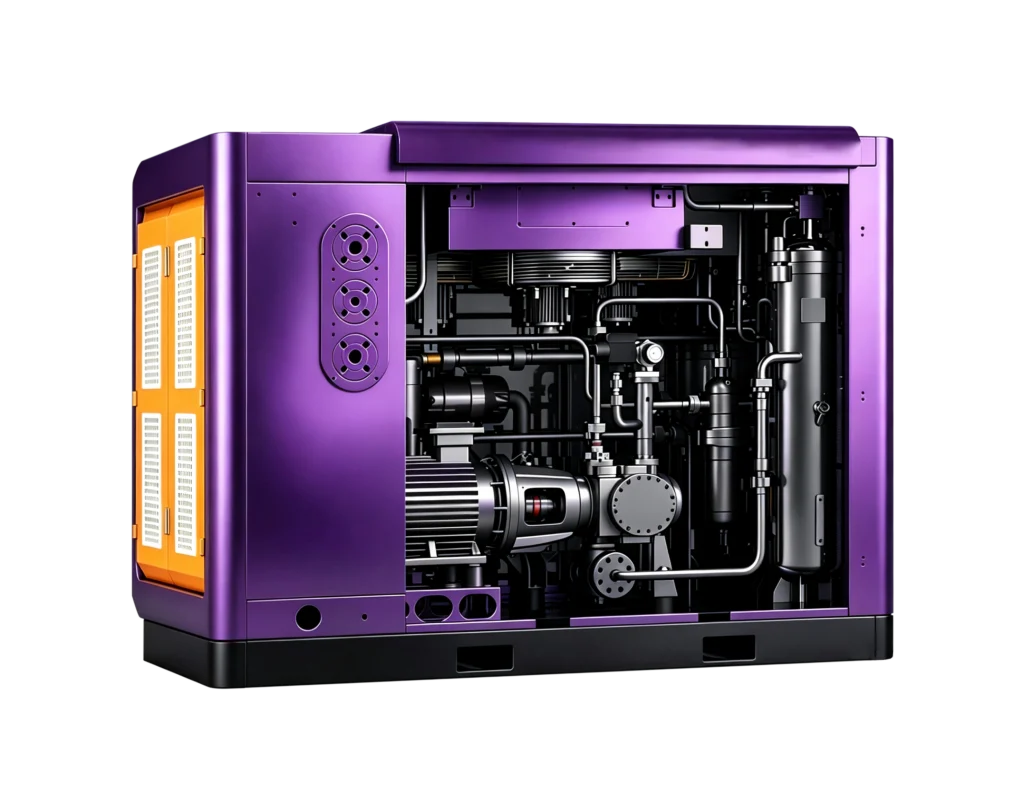
Air Compressor Maintenance Schedule: Daily, Weekly, Monthly and Annual
An air compressor maintenance schedule combines calendar-based checks with operating-hour intervals. Daily, weekly and monthly tasks are inspections and consumable top-ups that an operator or in-house maintenance team can perform. Service at 2,000, 4,000 and 8,000 operating hours involves replacing lubricant, filters, separators and wear parts, and is normally carried out by a trained technician.
The table below reflects common practice for an oil-lubricated industrial compressor; the party responsible for each interval is noted in parentheses. Exact intervals always depend on the model, the lubricant type and site conditions, so the equipment manual takes precedence over any general recommendation.
| Interval | Task and Responsible Party |
| Daily or every shift | Check oil level, discharge pressure and discharge temperature; drain condensate; watch and listen for leaks, vibration or unusual noise (operator) |
| Weekly | Inspect or clean the intake filter; test the safety valve; inspect hoses and couplings; check belt tension on belt-driven units (operator) |
| Monthly | Clean coolers and radiator fins; inspect electrical connections for heat or corrosion; check mounting bolts; log full-load current (technician) |
| Every 2,000 hours or 6 months | Replace lubricant and oil filter; inspect the intake filter element; test condensate drain valves (technician) |
| Every 4,000 to 8,000 hours | Replace air filter, oil separator element and belts; verify sensor calibration (technician) |
| Annually | Inspect airend, motor, sensors, electrical panel, cooler, controls and pressure dew point (technician) |
Daily Checks
Daily attention is about early detection rather than repair. Confirm the oil level sits between the minimum and maximum marks with the unit stopped and level, and record the discharge pressure, discharge temperature, oil temperature and motor current. Drain the receiver tank, the dryer and any filter bowls at the end of the shift, or rely on automatic drains if they are fitted and verified. Walk the unit while it runs and note anything that has changed: a new rattle, a hot smell, oil mist around a fitting, or a loading cycle that no longer sounds the way it did last week.
Weekly and Monthly Tasks
Weekly work expands into the intake path and the safety devices. Inspect the intake filter for dust caking and replace it early in dusty environments. Manually test the safety valve to confirm it opens and reseats. Check hoses for cracks, softness and abrasion, and check belt tension on belt-driven machines for excessive slack.
Monthly work concentrates on heat. Clean the oil cooler and aftercooler surfaces, confirm the fan is moving air freely, tighten electrical terminations, and check that the compressor room has adequate airflow in and out. A compressor that cannot reject heat will shorten the life of its own lubricant, and the resulting temperature rise shows up in the oil long before it shows up as a mechanical failure.
Semi-Annual and Annual Service
Major service intervals are counted in operating hours because calendar time alone does not reflect wear. At approximately 2,000 hours, replace the lubricant and the oil filter together: reusing old oil with a new filter defeats the purpose, since the filter is sized to protect the new charge. Between 4,000 and 8,000 hours, add the intake air filter, the oil separator element and the drive belts, and check the pressure drop across the separator to confirm the element is not restricting flow.
Annual service covers the whole system rather than the compressor alone: electrical connections and contactors, sensor accuracy, cooler cleanliness, drain function, and verification that the delivered air still meets the required pressure dew point and cleanliness level.
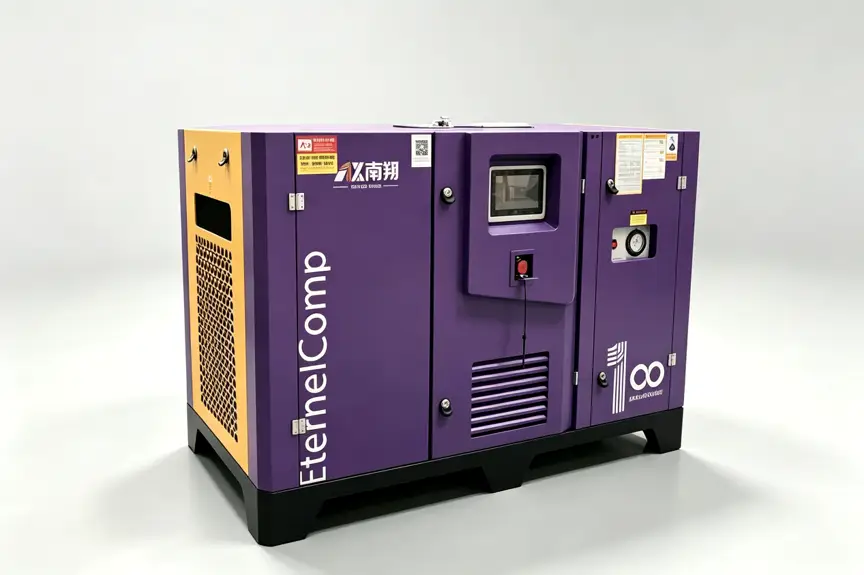
Step-by-Step Air Compressor Maintenance Procedure
The proper procedure is to isolate the unit, depressurize it completely, then work through the machine in a fixed order: lubricant, intake filter, condensate, drive components, valves and controls, and finally the readings log. Following the same sequence every time prevents missed items and makes trend comparison possible.
Step 1 Isolate, Lock Out and Depressurize the Unit
Disconnect and lock out the power supply before any work that requires opening panels or touching internal components. Wait for the unit to cool, confirm the receiver and separator are at zero pressure, and allow residual pressure in the oil and air circuits to bleed off. Wear suitable eye and hand protection, and never loosen a fitting on a pressurised circuit.
Step 2 Check and Top Up the Lubricant
Yes, an oil-lubricated air compressor needs regular lubrication; an oil-free design does not use oil in the compression chamber, which is why its maintenance routine focuses on filtration, cooling, bearings and seals instead.
For oil-lubricated machines the lubricant performs three jobs at once: it reduces friction, it carries heat away from the compression element, and it seals the clearances between the rotors and the casing. Check the level daily and top up with the specified grade only. Never mix different oil types or brands, because incompatible additive packages can gel, foam or form varnish deposits. Replace the charge at the scheduled interval rather than judging by colour alone, and consider periodic oil sampling if the unit runs hot or operates in a contaminated environment. Water-lubricated oil-free machines require the opposite discipline: water quality and circuit cleanliness determine reliability, and both must be maintained to specification.
Owners of Oil-Lubricated Air Compressors should note that lubricant selection depends on ambient temperature, humidity and required air quality, so a grade that performs well in a cool climate may not suit a hot, humid site.
Step 3 Inspect and Replace Air Filters
A restricted intake filter raises the pressure ratio the compressor must work against, which increases power consumption and discharge temperature while reducing delivered flow. Inspect the element weekly in dusty conditions, read the restriction indicator if one is fitted, and replace the element at the manufacturer’s pressure drop limit rather than waiting for visible blockage. When replacing, clean the housing so debris cannot be drawn into the new element, and never run the unit with the filter removed.
Air quality requirements belong to the same discussion. ISO 8573-1:2010, published by the International Organization for Standardization, defines purity classes for the three main contaminants in compressed air: solid particles, water and oil. Selecting Air Filters and dryers that match the required class is what keeps the system aligned with the process it serves.
Step 4 Drain Condensate from the Receiver and Dryer
Whether you should drain after every use depends on duty cycle and climate: a compressor used daily in a humid environment should be drained at the end of each shift, while a lightly used unit in a dry climate can follow a weekly routine, but condensate must never be left indefinitely.
Condensate forms whenever compressed air cools, and it collects in the receiver, the dryer, the filter bowls and the low points of the piping. Water carried downstream corrodes pipework, washes lubricant off tools, and can freeze in exposed lines. Drain at low pressure, with the receiver depressurised where possible, and verify that automatic drains are actually cycling rather than stuck closed. If the unit does not already have automatic drain valves, adding them removes the most commonly skipped task in the entire routine.
Step 5 Inspect Belts, Couplings, Hoses and Fasteners
Check belts for glazing, cracking and correct tension, and check sheave alignment, since misalignment wears both the belt and the bearing. On directly coupled units, inspect the coupling element for wear. Examine flexible hoses for abrasion, swelling and cracks, and confirm fittings are tight. Re-torque mounting bolts and pipe supports, because vibration loosens fasteners and a loose pipe connection is both a leak and a safety issue.
Step 6 Test the Safety Valve and Pressure Controls
Test the safety valve manually and confirm it reseats without leaking. Verify that the minimum pressure valve holds pressure during unloading, check the check valve for backflow, and confirm the pressure switch or controller loads and unloads at the correct setpoints. If the compressor takes noticeably longer to reach cut-out pressure than it used to, the cause is usually a leak, a worn valve or a restriction rather than a control fault.
Step 7 Log Readings and Record Findings
Record every service action, the readings taken and the parts replaced. Trends matter more than single values: an amp draw that creeps upward, a discharge temperature that drifts higher, or a loading time that lengthens all indicate developing problems long before an alarm triggers. A written log also supports warranty claims and makes it obvious which intervals are being missed.

The 10 Most Important Air Compressor Parts to Maintain
The ten parts that most influence compressor reliability are the airend, the drive motor, the intake air filter, the oil filter, the oil separator element, the lubricant, the cooling system, the air receiver and its drains, the valve set, and the controller with its sensors and belts.
| Part | Function, Failure Symptom and Check Interval |
| Airend (compression element) | Compresses air to system pressure; inspect annually for falling capacity, rising oil consumption or new noise |
| Drive motor | Turns the airend; log current monthly and watch for overheating, higher current or vibration |
| Intake air filter | Removes dust from incoming air; inspect weekly for reduced flow and higher power draw |
| Oil filter | Traps debris in the oil circuit; replace with every oil change, watching for rising oil temperature and accelerated wear |
| Oil separator element | Separates oil from discharge air; replace every 4,000 to 8,000 hours if pressure drop rises or oil carryover appears |
| Lubricant | Lubricates, seals and removes heat; check the level daily, change every 2,000 hours, and watch for varnish, oxidation and temperature rise |
| Cooling system | Holds temperature within limits; clean monthly to prevent repeated high-temperature trips |
| Air receiver and drains | Stores air and removes condensate; drain daily to prevent corrosion and water in distribution lines |
| Valves (safety, minimum pressure, check) | Protect the system and maintain pressure; test monthly for pressure loss on unload and valve leakage |
| Controller, sensors and belts | Govern loading and monitor operation; inspect monthly and annually for erratic loading, false alarms and belt slip |
These components rarely fail without warning. What usually happens is that one of them begins to underperform, the compressor compensates by running longer or hotter, and that extra strain shortens the life of everything around it. Treating the table as a rotating checklist, rather than as a repair list, is what keeps the cost of ownership predictable.

Common Maintenance Mistakes That Shorten Compressor Life
Most premature compressor failures trace back to a small set of avoidable habits: mixing or misapplying lubricants, ignoring slow leaks, cleaning with full-pressure air, allowing the unit to run hot, and servicing on guesswork instead of hours and condition data.
- Mixing lubricant types. Different additive packages can react with each other, forming sludge or varnish that restricts the oil circuit.
- Topping up instead of changing. Repeated top-ups leave degraded oil in the system and concentrate contaminants rather than removing them.
- Ignoring small leaks. A small leak runs continuously and compounds as fittings vibrate loose, so the loss grows over time.
- Using high-pressure air for cleaning. Under the U.S. Occupational Safety and Health Administration standard 29 CFR 1910.242(b), compressed air may not be used for cleaning purposes unless it is reduced to less than 30 psi and used with effective chip guarding and personal protective equipment.
- Letting the compressor run hot. Dirty coolers, blocked vents and a hot room degrade oil and seals faster than any other single factor.
- Skipping condensate drains. Water left in the receiver corrodes the vessel from the inside and travels downstream into tools and valves.
- Fitting unapproved parts. Incorrect filter elements and separators can rupture or pass contaminants, and they may void warranty coverage.
- Keeping no records. Without a log, intervals drift and developing faults stay invisible until they become failures.
Repair or Replace: When to Call a Professional
Any work involving the airend, internal valve assemblies, electrical panels, pressure vessel integrity or load-bearing components should be performed by a qualified service technician. Owners should handle inspections, cleaning, drain management, filter and lubricant replacement, and record keeping.
| Task | Who Should Perform It |
| Visual checks and parameter logging | In-house team |
| Condensate draining and drain valve testing | In-house team |
| Lubricant, oil filter and air filter replacement | In-house team |
| Cooler and intake path cleaning | In-house team |
| Belt, coupling and hose inspection | In-house team |
| Safety valve replacement and calibration | Qualified technician |
| Airend overhaul, bearing and seal replacement | Qualified technician |
| Electrical panel, drive and controller repair | Qualified technician |
| Pressure vessel inspection and certification | Qualified technician |
Using approved replacement parts matters for the same reason. A filter element or separator that does not match the specification can fail early, pass oil downstream, or create an overpressure condition. Keeping a modest stock of common consumables, such as intake elements, oil filters, separators and a spare lubricant charge, reduces the temptation to stretch an interval while waiting for delivery. Sourcing components from a supplier who stocks Air Compressor Parts for your model class keeps that stock practical.
Replacement rather than repair becomes the sensible choice when several major faults appear at once, when the airend shows measurable wear, when the unit can no longer hold its rated capacity or efficiency, or when parts lead times leave production exposed.
Frequently Asked Questions
These closing questions cover the practical points that sit outside the routine itself: what a maintenance programme costs, how oil-free designs differ, and which records are worth keeping.
How much does air compressor maintenance cost per year?
Routine costs are dominated by consumables: lubricant, intake elements, oil filters and separator elements, plus the labour to fit them. A realistic annual budget should also include leak surveys, drain valve replacement and any unusual repair, because those items appear in most facilities at some point. The reliable way to judge whether that budget is reasonable is to compare it with the cost of compressed air energy and the cost of an hour of downtime; in most plants the maintenance figure is a small fraction of both.
Does an oil-free air compressor follow a different maintenance schedule?
Yes, the emphasis shifts rather than disappears. An oil-free machine has no lubricant or oil filter to change in the compression chamber, but intake filtration, cooling system cleanliness, bearings, seals and, on water-lubricated designs, water quality all require scheduled attention. Desiccant and refrigerated dryers downstream need their own intervals for filter elements, dew point checks and desiccant replacement, and those intervals are independent of the compressor itself.
What maintenance records should I keep, and why?
Keep a log that lists the date, running hours, task performed, parts fitted and the readings taken, including discharge pressure and temperature, oil temperature, motor current and dew point where relevant. Retain it for the working life of the equipment. Records support warranty claims and service agreements, they make audits and quality certifications straightforward, and they turn maintenance from a reactive habit into a predictive one, because the first sign of a developing fault is usually a trend rather than a single out-of-range value.