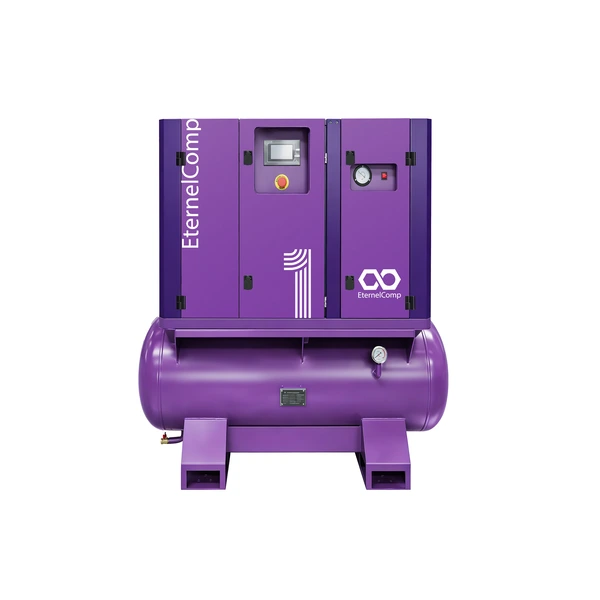
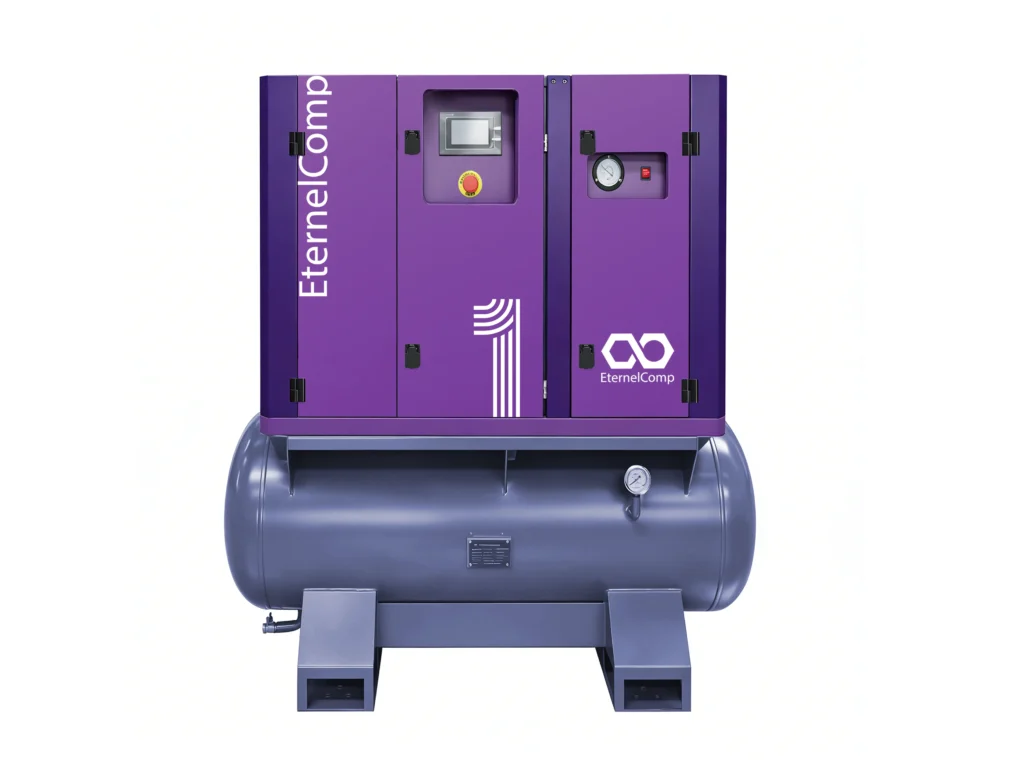
Why the Air Compressor Check Valve Matters
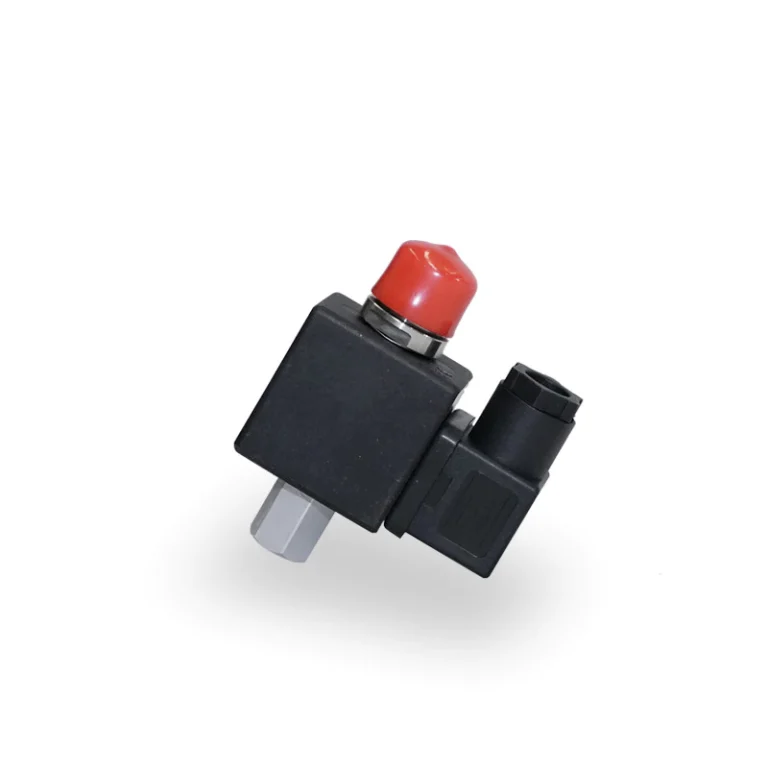
The check valve on an air compressor is one of those parts people forget about—until something goes wrong. It sits between the pump head and the tank, and its job is pretty simple: let air flow into the tank during compression, then seal tight to prevent backflow when the motor stops.
When this valve fails, weird things start happening. The compressor might struggle to restart, or you’ll hear air hissing out from the pump head after shutdown. Sometimes the motor just won’t kick off at all because pressure keeps bleeding back. It’s a small component, honestly, but it causes outsized headaches when it gives up.
Signs Your Check Valve Might Be Failing
Before pulling anything apart, it helps to know what you’re looking for. A faulty air compressor check valve tends to announce itself in a few predictable ways:
• Air leaking from the unloader valve or pump head after the compressor stops
• The motor strains or fails to start under load
• Pressure gauge drops slowly when the unit is idle
• Compressor cycles on and off more frequently than usual
Not every symptom points directly to the check valve, of course. Could be a gasket, could be the unloader. But if you’re noticing a combination of these issues, the check valve deserves a closer look.
How to Test and Replace an Air Compressor Check Valve
A malfunctioning check valve can cause serious damage to your air compressor. Learn how to diagnose and replace it with this easy-to-follow guide.
The check valve is a crucial component of your air compressor, responsible for regulating the flow of air and preventing backflow. If it malfunctions, it can cause serious damage to your compressor. In this guide, we’ll show you how to diagnose a faulty check valve and replace it to keep your compressor running smoothly.
Quick Reference: Check Valve Test Results
| Observation | Likely Cause | Action Needed |
|---|---|---|
| Air leaks back through valve port | Worn or damaged valve seat | Replace check valve |
| Valve allows airflow both directions | Internal seal failure | Replace check valve |
| No backflow detected | Valve functioning normally | Inspect other components |
| Partial leakage, intermittent | Debris or buildup on seal | Clean or replace valve |
How to Replace the Check Valve
Once you’ve confirmed the valve is the culprit, replacement is fairly painless. Most check valves thread directly into the tank or a manifold assembly. Sourcing quality industrial air compressor parts ahead of time makes the whole job smoother—nothing worse than getting halfway through and realizing you’ve got the wrong thread size.
Tools You'll Need
Adjustable wrench or socket set
• Thread sealant tape (Teflon tape)
• Replacement check valve matching your compressor specs
Step-by-Step Replacement
1. Drain all air pressure from the tank completely.
2. Disconnect the air line attached to the check valve.
3. Unscrew the old valve using a wrench—might need some force if it’s been in there a while.
4. Wrap the threads of the new valve with Teflon tape.
5. Thread the new check valve into place and tighten securely.
6. Reconnect the air line.
7. Plug in the compressor and run it to verify proper operation.
Double-check for leaks around the new valve once pressure builds. A little soapy water on the fittings reveals any escaping air quickly.
Special Considerations for Oil-Free Compressors
When working on oil-free compressors, the check valve replacement process stays mostly the same. However, these machines tend to run at higher temperatures since there’s no oil providing additional cooling. This extra heat can accelerate wear on rubber seals inside the check valve.
Some things worth noting:
• Check valves on oil-free units may need replacement more frequently
• Always verify the valve material is rated for higher operating temperatures
• Inspect surrounding gaskets while you’re in there—heat affects those too
The good news is that oil-free models don’t have contamination concerns from lubricant mixing with compressed air. So a failing check valve won’t create that messy oil-in-the-tank situation you sometimes see with lubricated compressors.
Understand the Function of the Check Valve.
Before you can diagnose a faulty check valve, it’s important to understand its function. The check valve is responsible for regulating the flow of air in and out of the compressor tank. When the compressor is running, the check valve allows air to flow from the pump into the tank, but prevents air from flowing back into the pump when the compressor is not running. This prevents the compressor from overworking and potentially causing damage.
Diagnose a Faulty Check Valve.
If you suspect that your air compressor’s check valve is malfunctioning, there are a few signs to look out for. One common symptom is air leaking from the unloader valve when the compressor is not running. Another is the compressor struggling to start or taking longer than usual to build up pressure. To confirm that the check valve is the issue, you can perform a simple test using a pressure gauge. If the pressure drops rapidly when the compressor is turned off, it’s likely that the check valve is not holding pressure properly.
Gather the Necessary Tools and Materials.
Before you begin testing and replacing your air compressor check valve, it’s important to gather all the necessary tools and materials. You will need a pressure gauge, adjustable wrenches, Teflon tape, and a replacement check valve. Make sure to choose a replacement valve that is compatible with your specific air compressor model. It’s also a good idea to wear safety goggles and gloves to protect yourself from any potential hazards. Once you have everything you need, you can begin the process of testing and replacing the check valve.
Remove the Old Check Valve.
The first step in replacing your air compressor check valve is to remove the old one. Start by disconnecting the air compressor from the power source and releasing any pressure that may be in the tank. Then, use an adjustable wrench to loosen and remove the fittings that connect the check valve to the tank and the pressure switch. Be sure to keep track of any screws or bolts that you remove, as you will need them later when installing the new check valve. Once the old check valve is removed, inspect it for any signs of damage or wear and tear.
Install the New Check Valve and Test the Compressor.
After removing the old check valve, it’s time to install the new one. Start by applying thread sealant to the threads of the fittings that connect the check valve to the tank and the pressure switch. Then, use the screws or bolts that you removed earlier to secure the new check valve in place. Once the new check valve is installed, it’s time to test the compressor. Reconnect the air compressor to the power source and turn it on. Check for any leaks around the new check valve and make sure that the compressor is building pressure properly. If everything looks good, you’re ready to start using your air compressor again.
FAQ
How often should an air compressor check valve be replaced?
There’s no fixed schedule really. Most valves last years if the compressor sees normal use. Replace it when symptoms of failure appear rather than on a calendar basis.
Can a bad check valve damage the compressor motor?
Yes, potentially. If backpressure prevents proper unloading, the motor works harder on startup. Over time this strains the motor and can shorten its lifespan or trip thermal overloads.
Are air compressor check valves universal?
Not exactly. Thread sizes and pressure ratings vary between manufacturers. Always match the replacement valve to your specific compressor model or at least verify the specifications before purchasing.